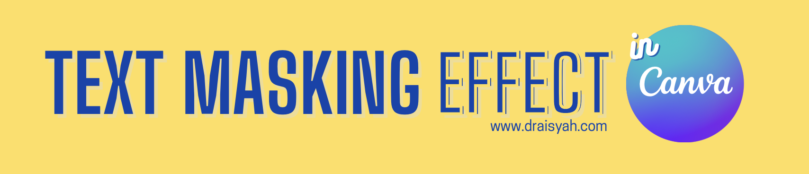
Just saw today a really cool text masking effect in Canva by Tahir Ali, a member of Canva Design Circle (Facebook group).
So I watched his tutorial video – and was strucked by how simple the trick is. Thank you Tahir!
I created a video tutorial for the text masking effect in a Canva free account. Watch it here.
Step-by-step instructions
But if you prefer to follow written instructions, the steps are as follow:
- Choose a gif (moving from left to right or vice versa) from GIPHY app in Canva (it’s hidden in the ‘three dots’ menu).
- Choose a heavy, thick font (I decided on Archivo Black – after playing with some other fonts). Position this font at the back.
- Duplicate the font and change to hollow. Position this hollow font exactly in the front of the thick front.
- Position the gif as the middle layer.
- Choose a background colour and music, then voila! You just created a text masking effect in Canva!
How to use the text masking effect in your next presentation?
People tend to attract to movements on a slide. Not too much movements though, otherwise they’d get distracted from your talk…
I think if you want to create a text masking effect, it would be relevant as title slides. Include it in the middle or the conclusion slide to re-capture your audience’s attention.
Or a way to pep up a dry and serious presentation especially before moving on to the next topic.
Just use it sparingly 😉 Have fun!